Share
18 July 2021
How To Build a Small Garden Wall
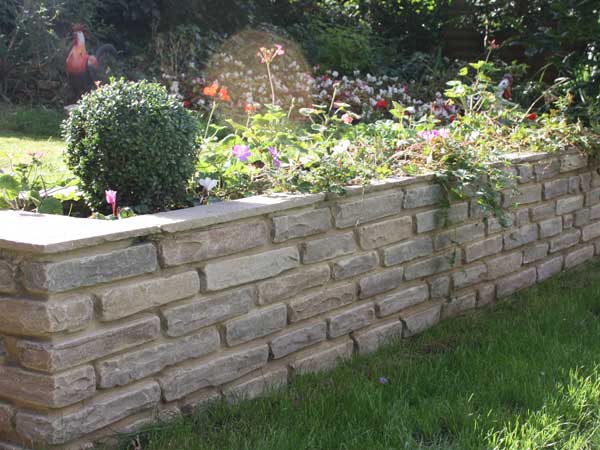
Walling blocks are ideal for creating a raised bed, enclosing a patio area, garden steps or building a bbq. Terracotta bricks can also be used to create paths and border edging. You may also want to consider using Oakstone timber planter sections to create a raised bed.
The construction of a small garden wall is well within the capabilities of the average DIY kind of person, but do seek professional advice if you are planning on building a retaining wall higher than 600mm or for any wall higher than 900mm. Read on to discover 5 handy tips to help guide you through the process.

1. Dig The Foundations
Dig a trench 200mm deep and 300mm wide, where the wall will be. Remember the blocks will be laid in the centre. Use wooden pegs and string to mark out the trench and to check levels. Use a spirit level to ensure the tops of the pegs are level.
2. Prepare The Foundations
Infill the trench with a 100mm layer of compacted hardcore and then make up the rest with concrete. A standard concrete mix of 6 parts ballast to 1 part cement.

3. Build One Course At A Time
Stretch a building line (or length of string pulled really tight) from one end of the foundations to the other. Using a trowel, spread mortar (4 parts building sand to 1 part cement) evenly over the foundations and then over the blocks of each course. The mortar should slightly exude from between the joints (10mm) and any surplus should be removed with the trowel. Fill vertical joints as you go by applying mortar to one end of the block before positioning it adjacent to the previously laid block. Build one course of bricks at a time, checking with a spirit level vertically, horizontally and diagonally. Remove excess mortar so it does not stain the face of the block.
4. Laid In A Stretcher Bond
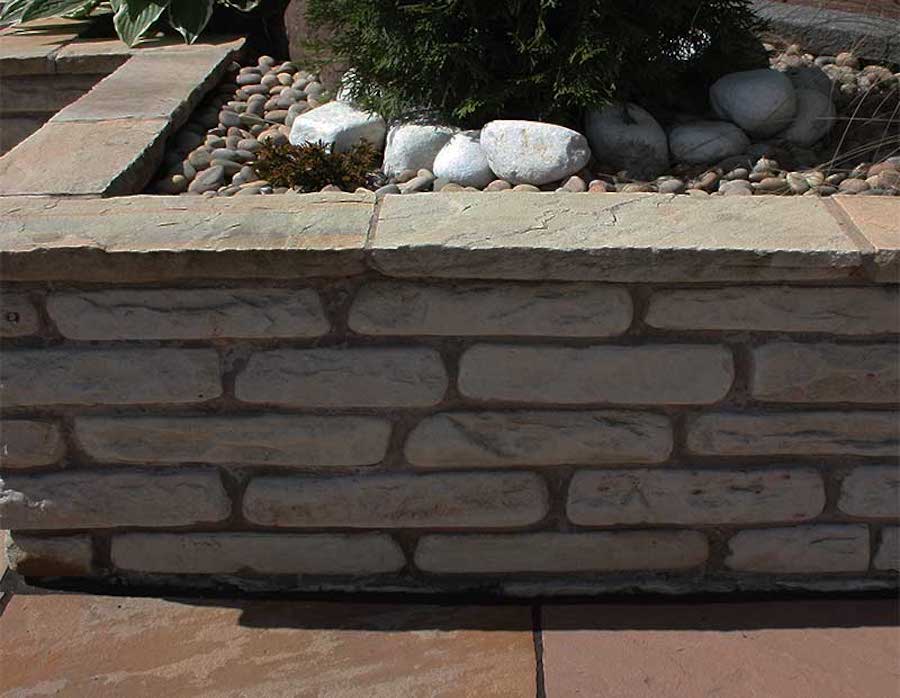
The blocks should be laid in a stretcher bond using half blocks at the end of each course. Our walling blocks can be cut using a chisel and hammer or an angle grinder.
5. Top The Wall With Matching Coping
Using a pointer trowel, smooth and finish the mortar joints.


