Share
22 June 2021
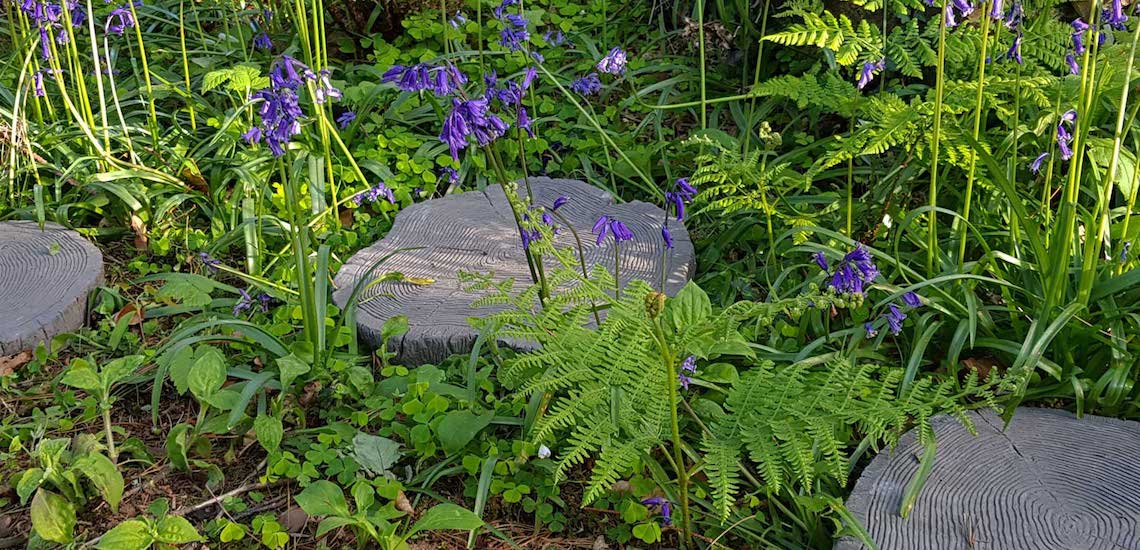
How To Lay Stepping Stones
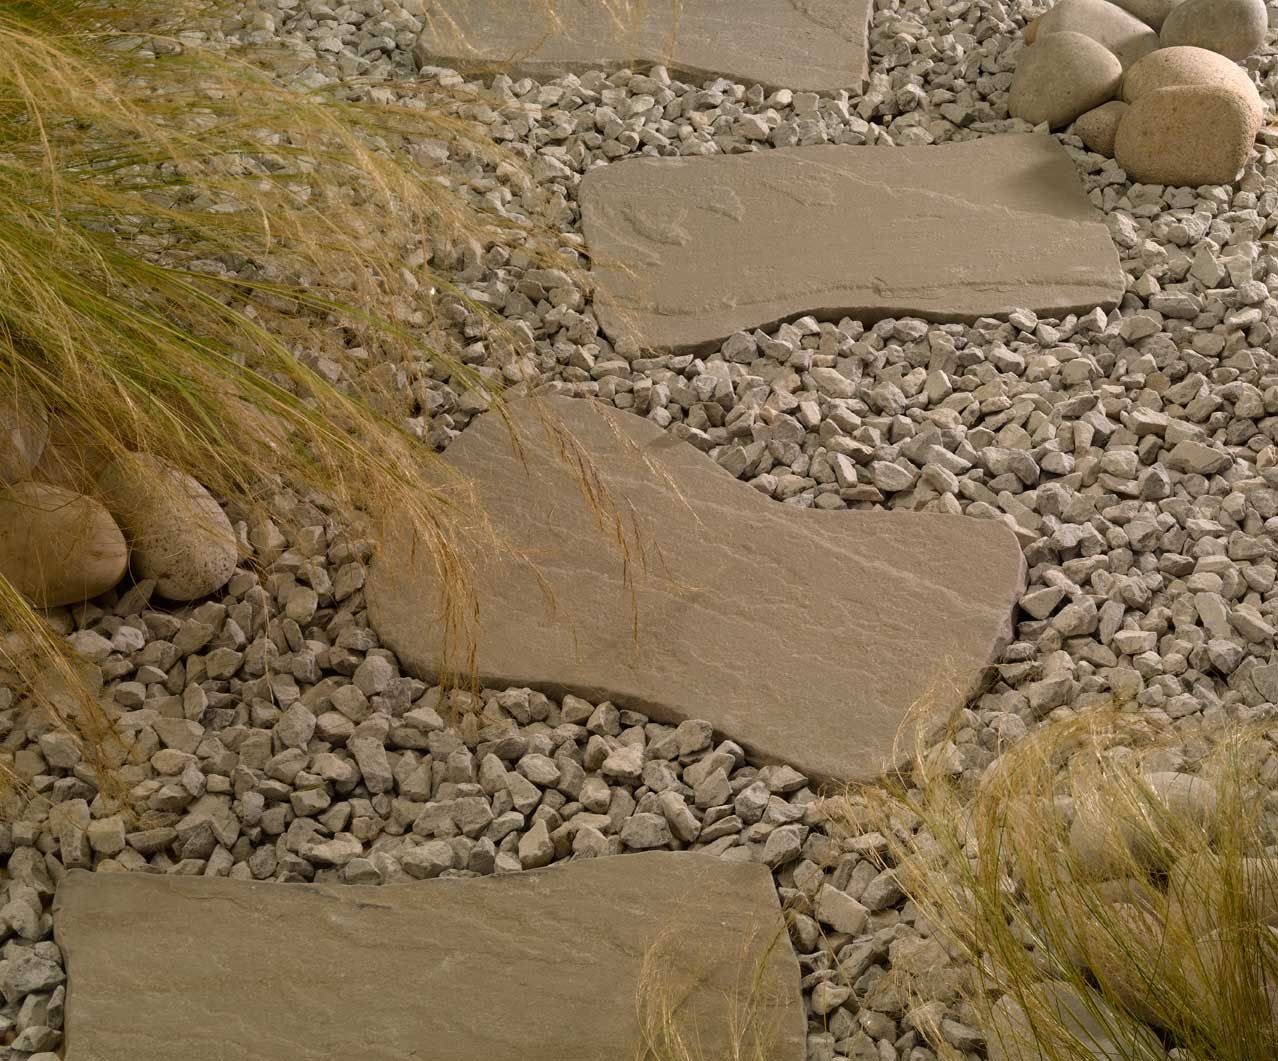
Stepping Stones are perfect for linking different spaces within a garden design, both helping to create a magical atmosphere as well as providing practical solutions to allow footfall over decorative gravel or across a lawned area. More cost-effective than a fully paved garden path, learning how to lay stepping stones can also help make a small garden feel bigger.
Stepping Stones Laying Tips
1: Dry lay to measure up
Stepping stones don't always have to be laid to any particular pattern or strict spacing, for example, it may actually add to the ambiance of a traditional cottage garden to have random and uneven spacing between the stepping stones. Before picking up the spade it's good practice to simply lay stepping stones on the ground and standing back to take in what they add to the setting. In a more contemporary garden design it may be more important to work to accurate sharp lines.
2. Spacing between stones
There is no written rule for the spacing between stepping stones, simply because there is huge difference in stride length between someone tall and someone short. For example, a 100mm gap would be perfect for infants but a 6ft tall man would need a gap of around 450mm to keep a consistent stride. When dry laying the stones in step 1 make sure the people using the garden walk over the path and note how they feel about the spacing between the stepping stones.
3: In the ground, not on the ground
However tempting the quick fix of simply laying stones on the floor can be, for the best results it's really important to lay the stepping stones on a proper bed in the ground. As a rough guide it's wise to dig a hole roughly 2cm deeper than the thickness of the stepping stones.
4: Sand or cement?
Sharp sand can be used to lay stepping stones but a more secure cement fixing would be recommended by most landscapers. With sharp sand it's recommended to use a 1.5cm deep layer and a rubber mallet to get the stone level. If laying in hard ground this will provide a reasonably stable bed for the stones. With softer earth it's important to use a cement bed to avoid the dreaded sinking of the stepping stones. For ultimate stability use a pointing trowel to build up the mortar around all the edges of the stepping stones, to ideally halfway up. This means the cement won't be seen after installation but it significantly helps to avoid lateral movement of the stepping stones over time.
5: Under the floor level
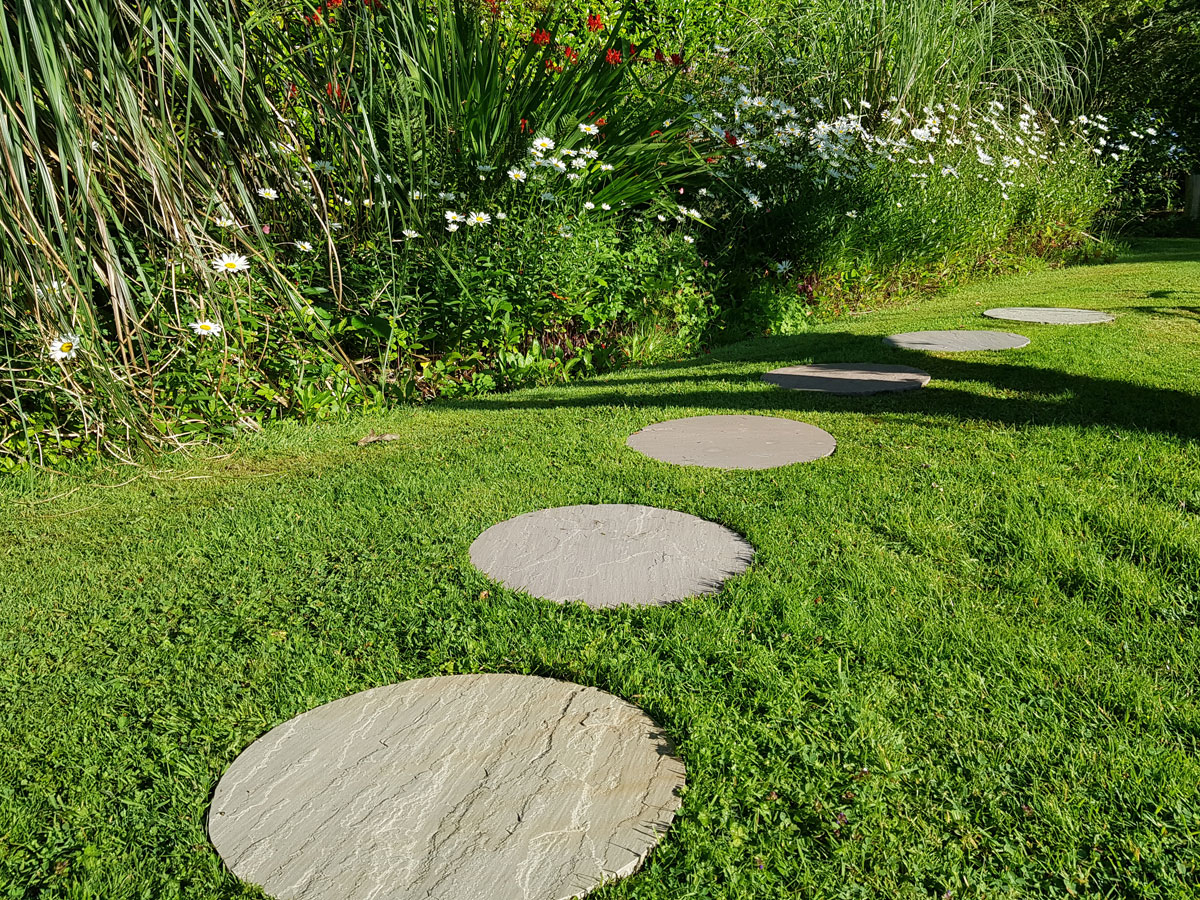
Using a 1.5cm deep laying bed will let the stepping stones sit just beneath the level of the surrounding area - this is particularly important when laying stepping stones across a lawn as one can still mow the lawn without having to work around the stones.
6: For super secure stones
For ultimate stability follow all the steps above and also utilise a secret trade tip to make stepping stones super secure - use everyday PVA glue on the underside of the stones to help them bond to a cement bed. Most chain DIY stores stock large tubs of PVA glue at low prices.
Common Stepping Stone Issues
The most common issue with stepping stones is unwanted movement of the stone over time. Using the laying tips above should avoid the stepping stones sinking or sliding.
Buy Stepping Stones
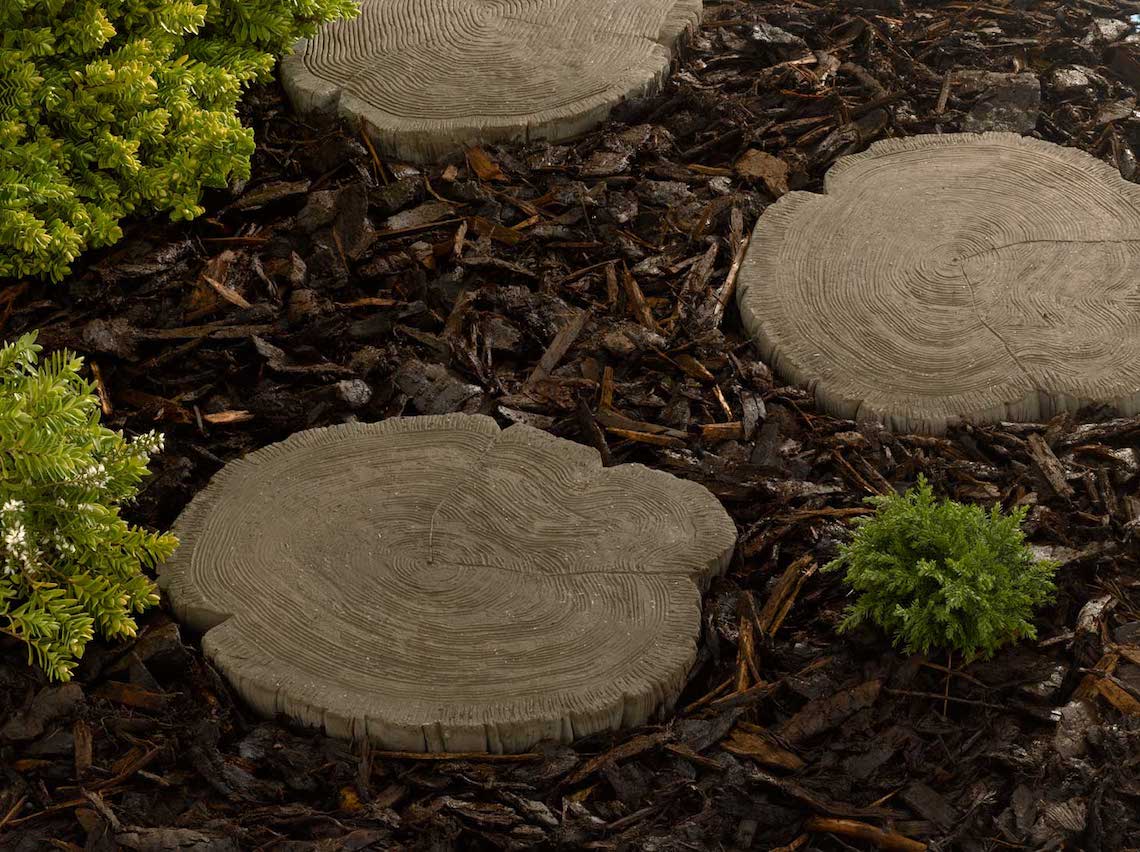
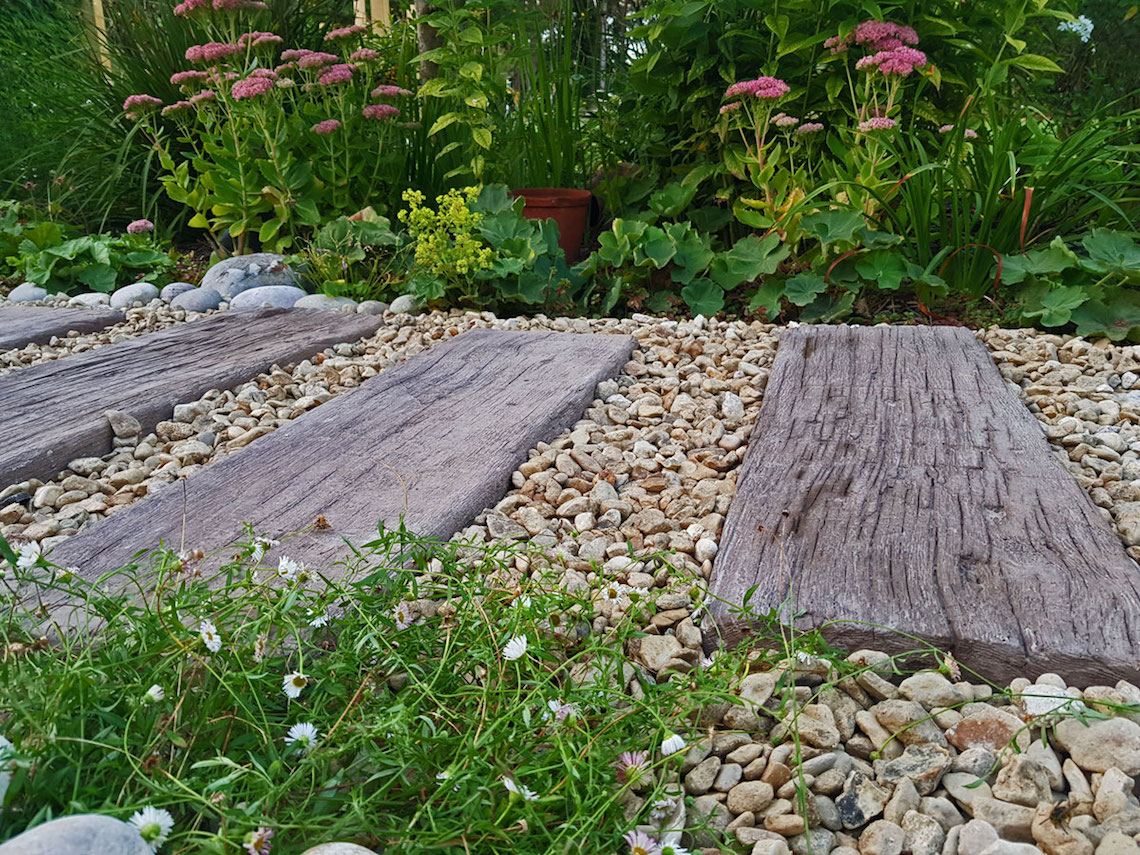
Stepping stones are available in a huge variety of styles and sizes, from wood effect stone to shiny porcelain to traditional Japanese stones. They can work equally well in both traditional and modern gardens so it's worth checking out whats available to enhance your next landscaping activity!